My dear friend and I were talking recently and she asked how I went about creating a drawing. I kinda explained it to her and she asked if I could write it out so she could more clearly understand my creative process ... thus became the topic for this Post!
I begin first with an idea or inspiration. In this case I was looking through some of my old sketches and found two that I had done back in the 1970's or 19780's. I thought it would be fun to update the drawings and combine them in one picture.
I now proceed to redrawing each for use in my updated version.
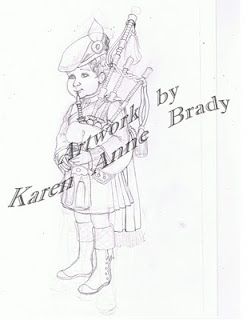
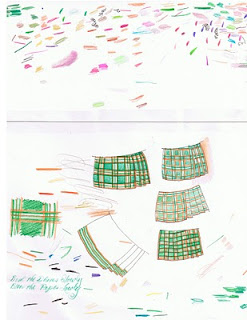
As you can see, I have changed the position of the Piper and began plotting out my color scheme in the Drummer.
Now I make a photo copy of both pictures. Cut them out and position them on another piece of paper and photo copy that. I now have the layout of my illustration.
I then take this drawing over to my light table and lightly trace it onto a clean piece of Bristol art paper. Once this is done, I begin inking in the lines with a permanent black ink pen until I have a completed drawing.

Here I end up with a drawing that is great for a color book illustration or having made into a rubber stamp. I make a copy of this inked drawing in case I want to use it in the future, for whatever reason. I then take the original and begin to color in the characters with colored pencils.

While I am coloring, I keep a sheet of paper besides me for testing color schemes, color combinations, etc.
I complete coloring the lads and adding details with my ink pen and end up with the following:
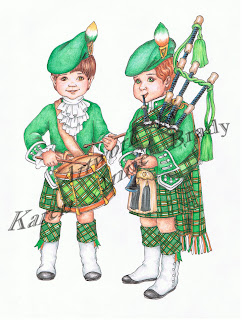
At this point I could quit, but decide some background would probably be nice ... so I add background!
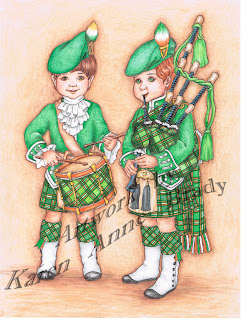
Now I study the drawing and determine that I want to add a bit more detailing with the pen and adjust the density of the colors by layering on more colored pencil. Once this is completed and I am happy with the results, I have my completed illustration!
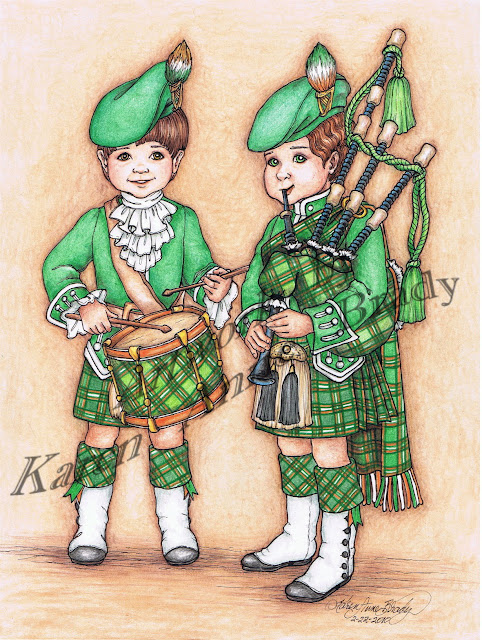
Once I am happy with the results, I scan it into my computer and add my watermark!
Sometimes I'll even have a little fun with the photo shop I am using and "tweek" the drawing a bit to give it a different look.
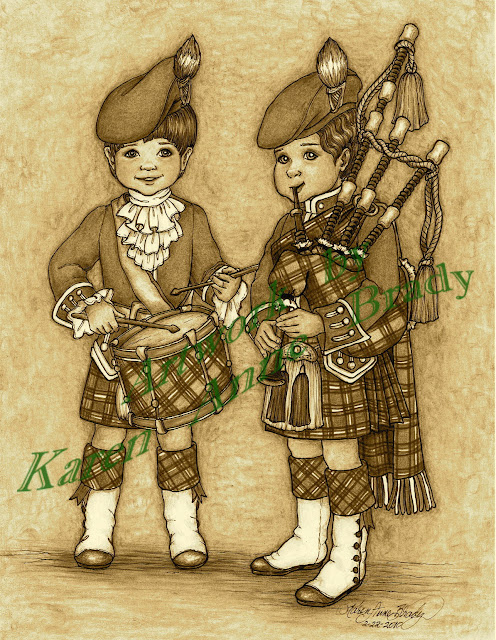
Here I changed it from full color to Sepia Tones ... figured this would be good for people who didn't care for the color scheme I had chosen but still liked the drawing.
AND THAT IS HOW I CREATE A DRAWING!


Completely awesome post!
ReplyDeleteThank You for taking the time to read and comment, DivaDea! Your interest is appreciated!
ReplyDeleteTutorial
ReplyDelete